Checkly Status Pages
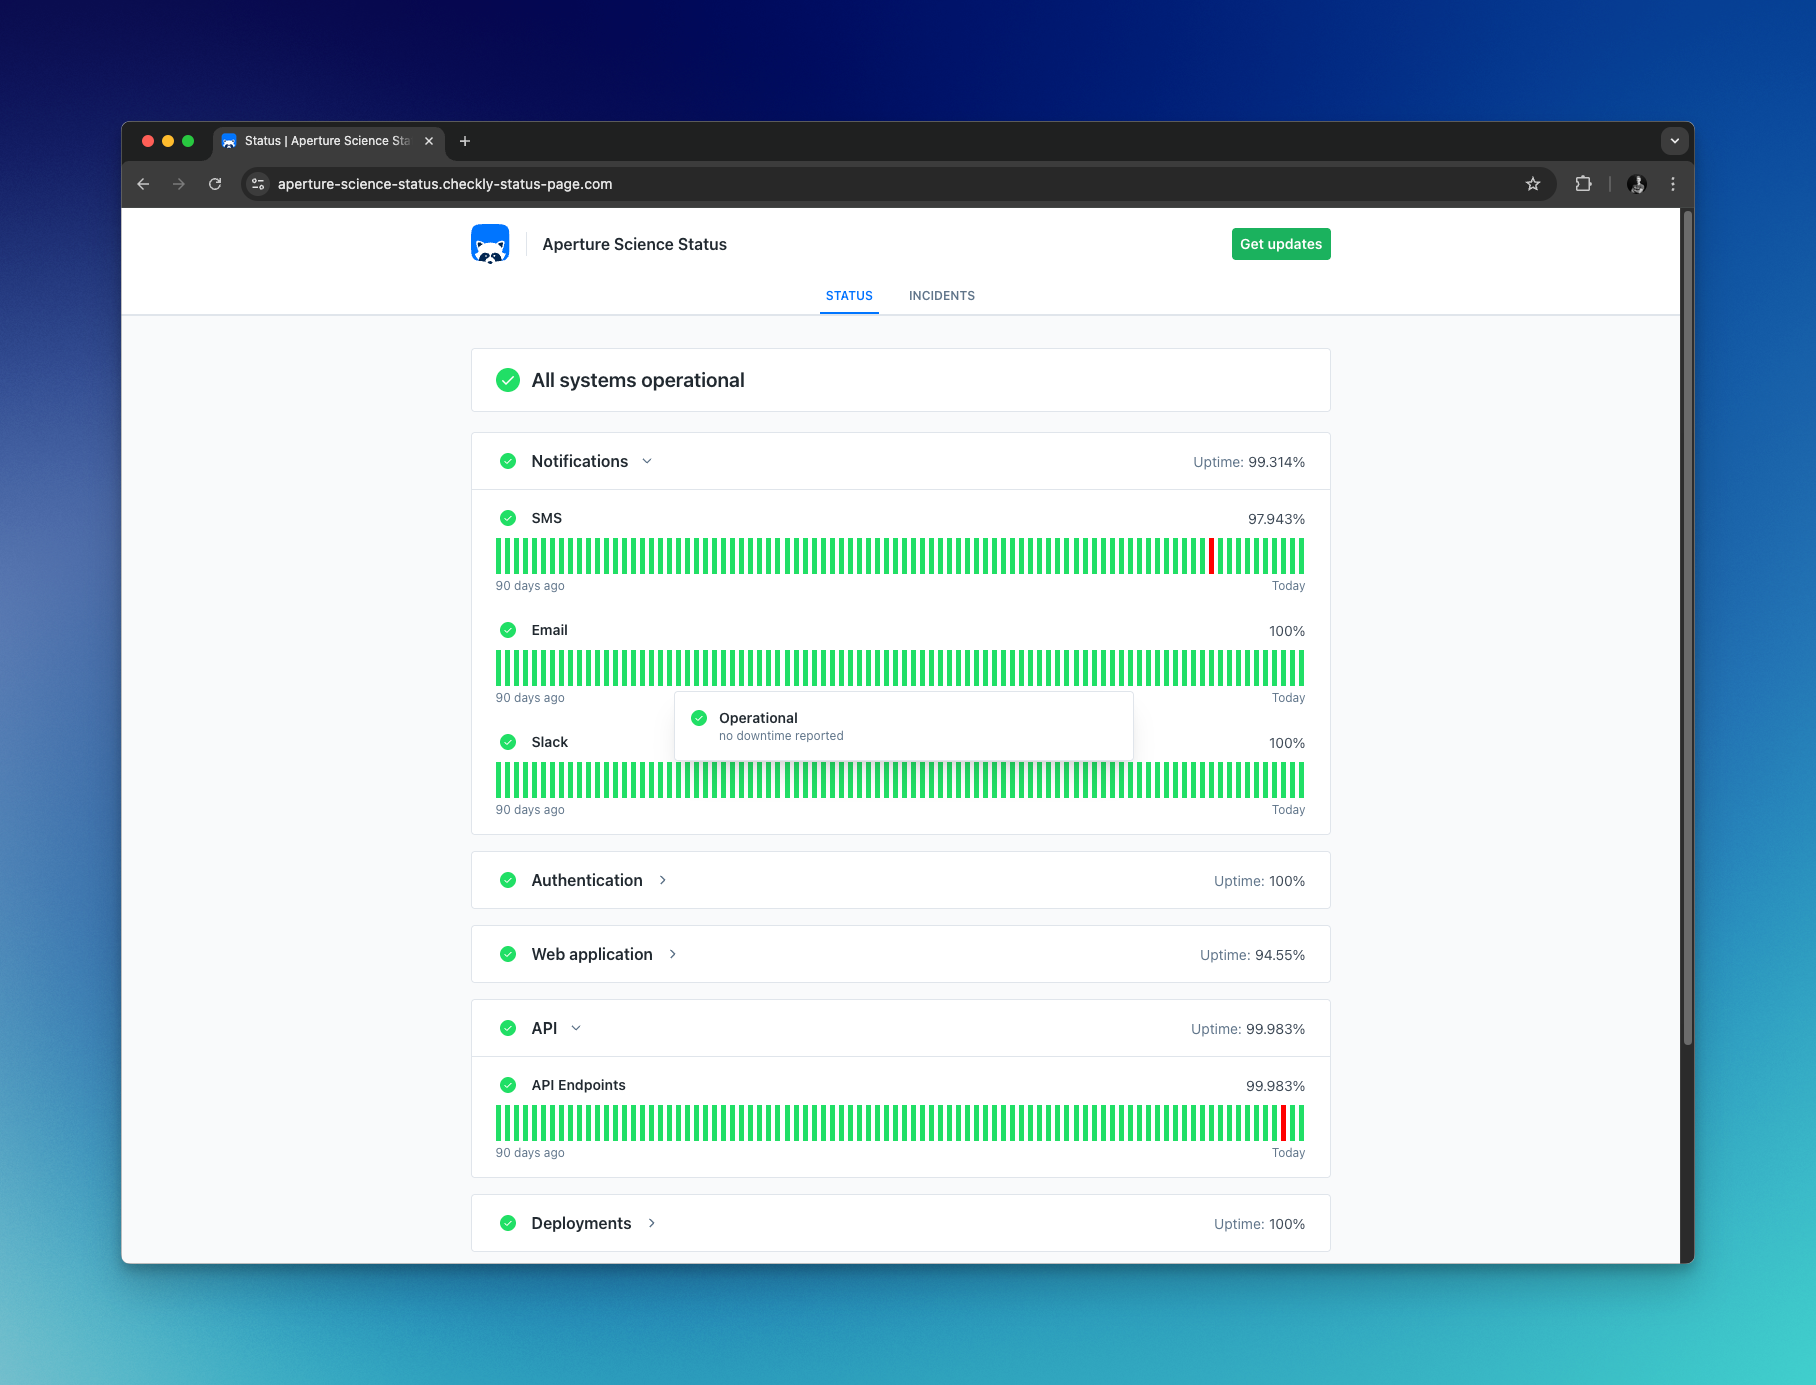
Checkly status pages allows you to easily communicate uptime and health of your applications and services to your customers.

Status pages allow you to do the following:
- Show the health and uptime of services representing critical parts of your product or business
- Connect services to synthetic checks, automatically opening incidents when checks fail and alert.
- Automatically notify subscribed users whenever an incident is published.
Status pages are available as an add-on for customers on the enterprise plan. Contact support for access.
Creating a status page
To set up a status page, select ‘New status page’ on the Status page overview.
- Begin by selecting a name for your page.
- Next, create at least one card for your page. Cards define the order and grouping of services on your page. One card can contain one or multiple services and will show the average uptime for all the services on the card.
- If you haven’t already created a service for your page, you can do so from the ‘Services’ dropdown. Read more about services here.
- Select a URL for your page. By default status pages will use the domain ‘.checkly-status-pages.com’ but you can also use your own domain. See Custom domains for details on how to configure this.
- When you are happy with your setup, click ‘Create status page.’ You will now see a preview of your page, and below the page name, you have a link to the public page.
You can now share the link to your status page, and your users can subscribe to receive notifications when incidents are posted.
Customization
You can customize your status page with a logo, favicon, and theme.
- Logo: Display your company logo on your status page
- Logo link: Direct visitors to your company website when they click the logo.
- Favicon: Display your company logo or brand as the status page shortcut icon.
- Theme: The theme for your status page. ‘Auto’ will use the system settings of the user visiting the page to determine light or dark mode. Select ‘light’ or ‘dark’ to always display your status page in that theme.
Services
A service represents a functional piece of your application of website, such as landing page, API, support portal etc. You manage your services from the service overview page, accessible in the sidebar.
When naming a service, use a name that is identifiable for your users, as this is used when sending out incident notifications.
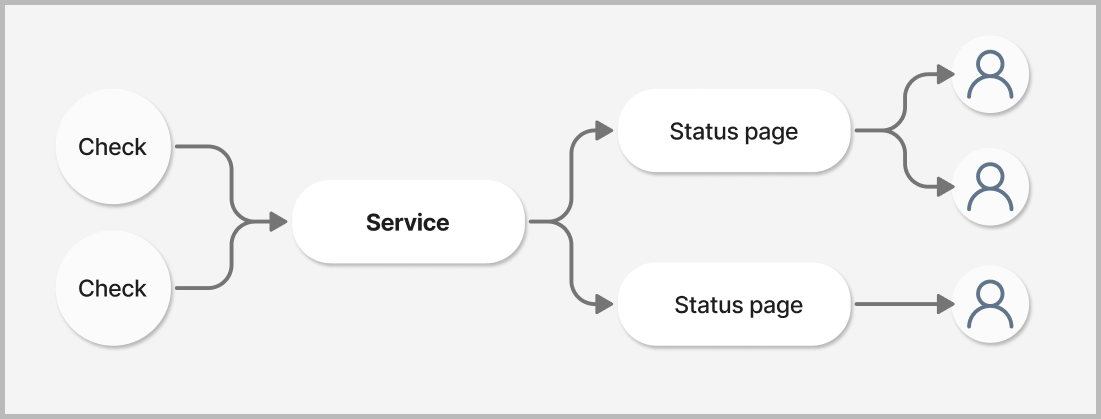
Services are what connect checks and status pages. A service can listen to multiple checks and automatically opening incidents whenever one of these checks alert. See incident automation for more details.
A service can be present on multiple pages, and any incident opened on the service will be shown on each page, and sent to any subscribers.

Connecting services and status pages
To display a service on a status page, go to the status page editor and open the ‘Services’ dropdown on the card you want to display your service.
Select your service from the list and save your status page. The page will now display the selected service.
You can also create new services directly from the dropdown by entering a new service name and pressing ‘Create’.
You can display the same service on multiple pages, and an incident posted for that service will be shown on all status pages which contain that service.
Connecting services and checks
Use incident automation to connect a service and a check and automatically open incidents for services based on check alerts. See Incident automation for details.
Custom domains
You can host your status page under your own domain. To make this work, you need to do two things:
-
Add a valid custom domain to your status page

-
Create a CNAME record in your DNS that points to checkly-status-page.com Any DNS provider will have the option to easily add CNAME records. For example on
this looks as follows.
SCREENSHOT HERE
In some cases, our provider will ask you to verify you are the owner of the domain by adding another TXT record to your DNS. You will see a notice similar to the one below.
SCREENSHOT HERE
Last updated on March 31, 2025. You can contribute to this documentation by editing this page on Github